Replacing an output jack on a guitar is a quick and easy repair, just make sure you have a good soldering iron or station, and a good quality jack. Follow the step by step guide below to perform this inexpensive and fun upgrade.
If you don’t have a soldering station yet, I highly suggest getting one. Performing electronics repair work yourself is not only fun, but it will save you a ton of money in the long run. Check out this article for Which Type of Soldering Iron to Use for Guitar Electronics.
One more note, does a guitar have an Input Jack or an Output Jack? Technically, it’s an output jack because the guitar’s signal is being output from the instrument through the jack and on through the rest of the signal chain. They are used interchangeably however, so don’t worry about it too much. If you read or hear input jack in reference to a guitar, they’re actually referring to the output jack.
Table of Contents
What You’ll Need to Replace Your Guitar’s Output Jack
- Soldering Iron or Station, Solder, Desoldering pump all can be found in this article: Which Type of Soldering Iron to Use for Guitar Electronics
- Pliers, Needle Nose Pliers, or 3/8″ Nut Driver (Switchcraft nut size)
- Screwdriver (generally Philips head for jack plates)
- Polishing Cloth (or flannel, see Don’t buy Polishing Cloths)
- New ¼” jack, I recommend these Switchcraft mono jacks
Step 1: Remove the Old Output Jack
Remove the Output Jack in a Stratocaster style guitar
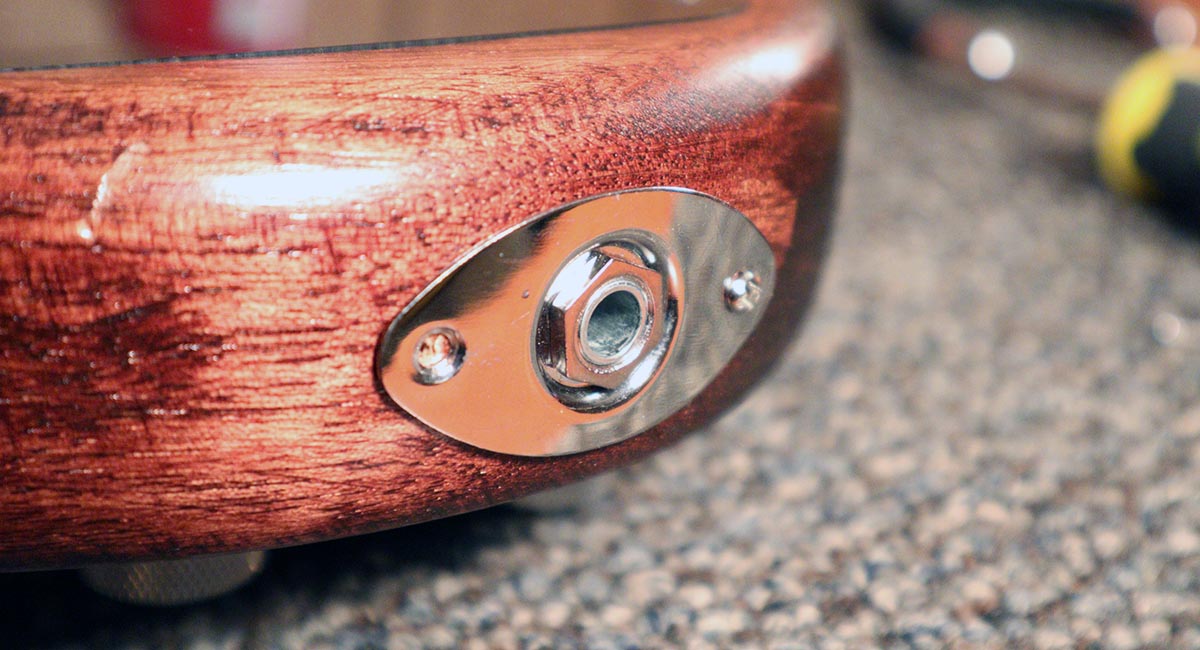
The Strat style guitar makes it very easy on us to remove the output jack as it’s contained in its own removable plate. Unscrew the plate with the two screws and carefully lift the plate with the jack out of the recess.
Be careful not to pull on the wires as they can break off from the electronics further in the body of the guitar which will create more work for us.
Use a nut driver or pliers to unscrew the threaded nut holding the jack tightly into the jack plate. Hold the back of the jack while you unscrew the nut stopping the jack from spinning in the back.
The best tool to use for output jacks is the appropriate size of nut driver, however a pair of pliers will work if you’re careful. It can be incredibly easy to scratch the shiny metal finish of the jack plate, so cover the tips of the pliers with masking tape before diving in.

Remove the Output Jack in a Telecaster style guitar
Most Tele’s have a funny recessed cup and metal bracket which hold the jack tightly in place. These work pretty well but can be a pain to work with. Consider replacing the cup with this Electrosocket style which makes pulling the output jack in and out exponentially easier.
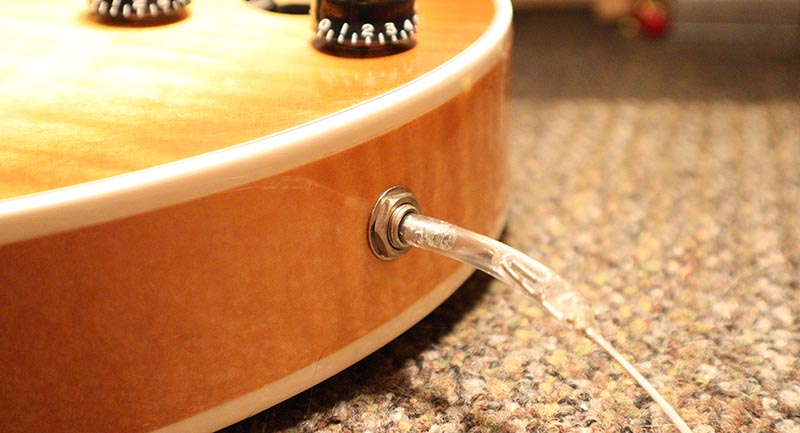
Once the nut is off the jack, the cup will come right off, push the jack through the keeper bracket and pull through the body cavity.
Sometimes the jack and the metal keeper are quite difficult to pull apart because the clearance is so tight. I always take a couple passes at the metal keeper bracket with my ream before putting the jack back through. That will make your life much easier.
Remove the Output Jack in a Semi-Hollow Body guitar
Some Semi-Hollow and Hollow body guitars have small jack plates which the jacks are mounted to. This makes things very easy and the jack plate can just be removed so the jack replacement can happen just outside the jack cavity.
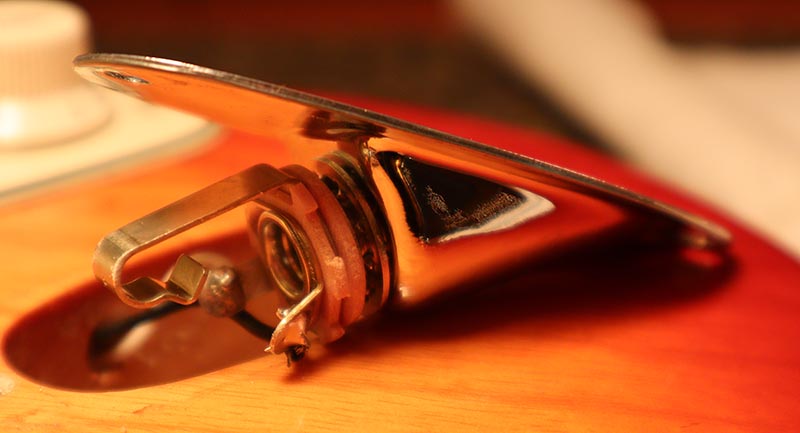
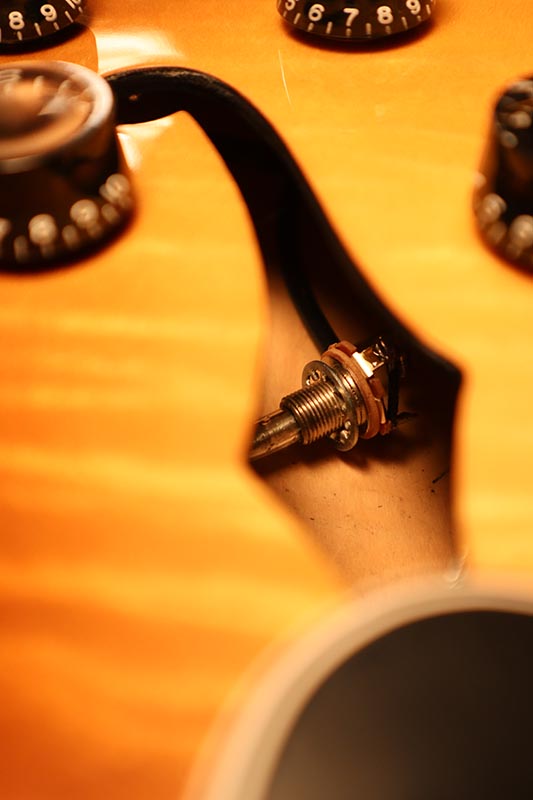
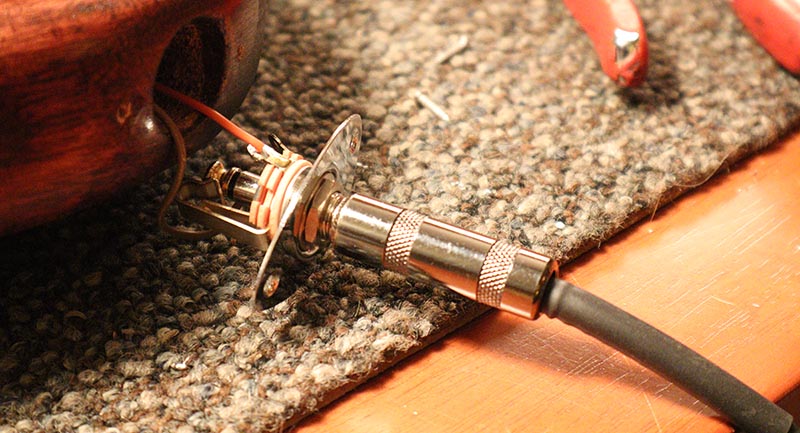
However, many semi-hollow body guitars just have a hole drilled to the size of the jack and the nut clamps the jack down around the guitar’s body material. This means that we’re going to either need to pull the bridge pickup in order to gain access to the output jack, or pull it out through the F hole. In this case I’m going to pull mine out through the F hole which will be quicker overall.
I’m a big fan of making custom tools to make your life easier when working on your guitars. Here I’ve made a jack puller with an old ¼” male input jack tip, a couple inches of ¼” tubing, epoxy, and an old guitar string.

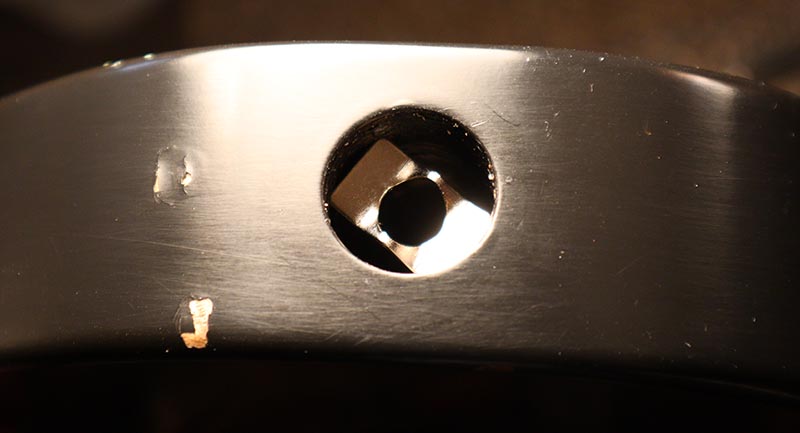
There is a star washer on the other side of the jack that I don’t want to fall into the guitar. By first inserting my jack puller, this washer will be contained and lining the jack up with the hard-to-reach output jack hole is super easy. Put the jack puller into the output jack before loosening the nut.
You can see the star washer around the output jack but it can’t fall off because I have my jack puller inserted into the jack. From here you’re going to want to fish the jack through the f-hole. This isn’t hard if you have the right tools. Check out these dental tools I use for times like this. Dental tools are extremely handy for guitar repair and should be a part of anyone’s toolbox.
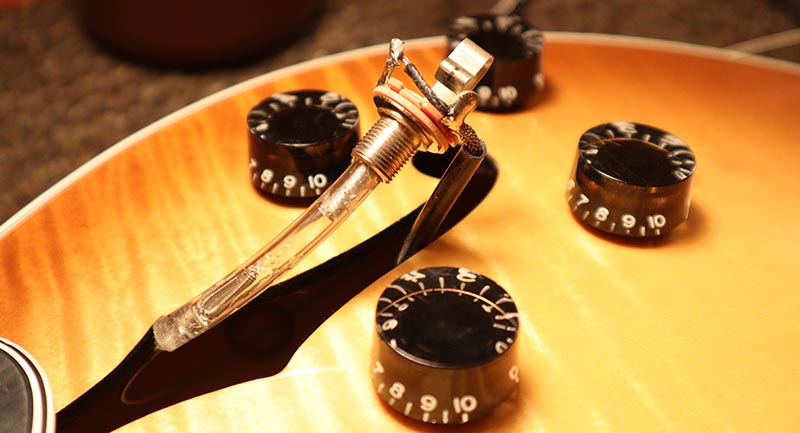
Now you can easily do the repair on the jack, and pull it back through the output jack hole as your jack puller is still threaded through it. Save yourself the pain and frustration of digging around the body for the lock washer and build yourself a jack puller.
Step 2: Desolder the Old Jack
Before desoldering the old jack take note of which wires go to which lugs. Generally speaking there will be a black wire that goes to ground, or an external wire shield which is the ground wire. I like taking a quick photo to make sure I can always go back and verify.
In this example, the light brown wire is the one soldered (and quite poorly I might add) to the ground lug. The orange which I have already desoldered in the photo is the hot lead.
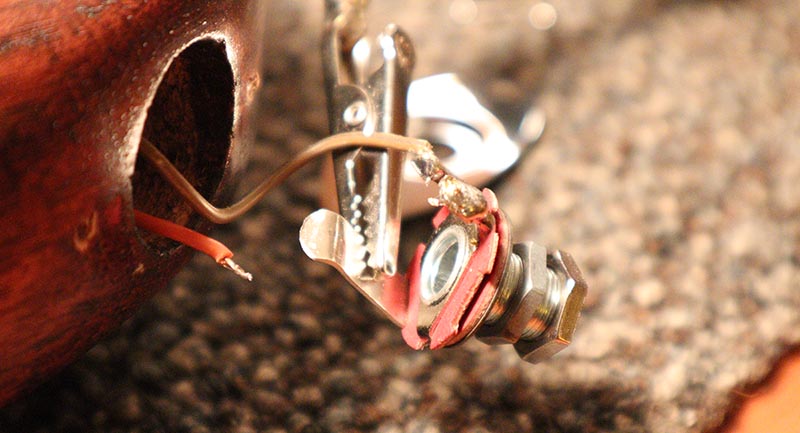
I don’t like to snip the wires that are soldered to the old output jack in order to retain as much wire length as possible. The exception to this is if the wires have been wrapped around the lugs of the jack, as it’s nearly impossible to remove every single bit of solder and it’s dangerous to yank wires with molten solder on them.
Remove as much of the old solder as possible from the wires, then re-tin them with new solder.
Step 3: Fit New Jack to Plate or Jack Hole in Guitar Body
Before we solder the new jack onto the guitar, we want to check that it will fit in either the jack plate or the guitar’s jack hole. If the new jack doesn’t fit because it’s too big, you’ll have to ream out the plate or guitar body.
Whatever you do, DO NOT use a drill bit to do this. Once a hole has already been drilled, it’s very difficult to enlarge it with a bigger bit, and you’ll most likely end up doing damage to the guitar. Use a ream to do this step. I use this ream below, and it works great for both metal and wood. I have two of them so my metal one doesn’t ruin the one I use for wood reaming.
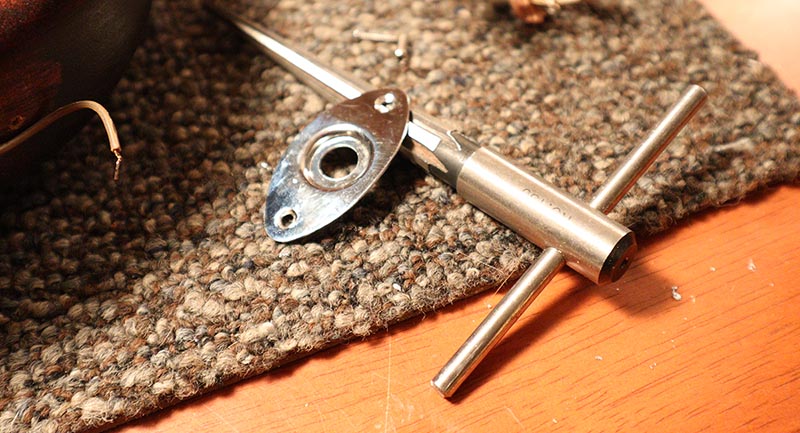
General Tools 1/2″ Hand Reamer, Amazon
Step 4: Solder New Jack
Once we know that the jack will fit into the plate or the guitar body, it’s time to solder in the new jack.
This is the easy part. As noted, don’t wrap the wires around the lugs of the jack as this will make a future repair more difficult.
When soldering, make sure to heat up the work rather than the solder. With the iron on the wire and lugs, hold the solder on the opposite side from the iron. This ensures that all of the metal has been sufficiently heated by the iron. If the metal is not heated enough you can get cracks in your solder joints and a poor electrical connection which will mean static, pops, or crackles in your output jack when it’s plugged in.
Step 5: Test the Output and Put it Back Together
Once the new jack is soldered in, test it out before you put everything back together. Make sure to remember the star or lock washer on the jack so that it doesn’t loosen and spin. Once you’ve verified that there is output, put everything back together.
There you go! Just like that you’ve replaced the output jack on your guitar, saved some money by doing it yourself, and hopefully you’ve gotten to know your guitar a little bit better. While the jack is a small thing to improve, a quality one that doesn’t pop or crackle makes a big difference.
Why Would You Want To Replace Your Guitar’s Output Jack
There are two reasons to replace the output jack on your guitar, it’s either cheap and poor quality resulting in pop, crackles, or static when plugged in, or it’s corroded or worn out resulting in those same problems and it needs to be replaced.
A guitar’s output jack should hold the instrument cable firmly in place. If the tolerances of jack allow for some wiggle, the connection will be momentarily broken causing loud pops and cracks when plugged into an amp.
On older guitar’s I’ve seen output jacks that are just worn out from years and years of plugging and unplugging. Sometimes these jacks can be bent back into place, but if this is starting to happen it’s best to replace the jack, unless you’re working on a vintage guitar with original electronics.
What Size is a Guitar’s Input or Output Jack?
The inner diameter of a guitar’s output jack should be .25″ (1/4″). On cheaper quality jacks you’ll find that their inner diameter is larger, and even just a slight increase can cause popping and humming as the cable plug moves around.
That was the case with the jack that I swapped out for this article. The cheap jack was .0015″ larger than it should have been. And while that seems like a pretty small number, it makes a big difference when a cable is wiggling around and popping in there.
| Output Jack Type | Inside Diameter | Outside Diameter |
|---|---|---|
| Cheap Import Jack | .2515″ (6.39mm) | .343″ (8.7mm) |
| SwitchCraft Jack | .250″ (6.35mm” | .372″ (9.42mm) |
I also took some measurements with my micrometer of 1/4″ male instrument cables. These ranged anywhere from .244″ to .247″ depending on the quality of cable. Lessoning the tolerances between the instrument cable and the output jack is the key to creating a dependable connection to the guitar.

I use my micrometer all the time, and think it should be a standard part of everyone’s bench. Check this one out from Amazon: Neiko Digital Micrometer
What Type of Output Jack For Guitar
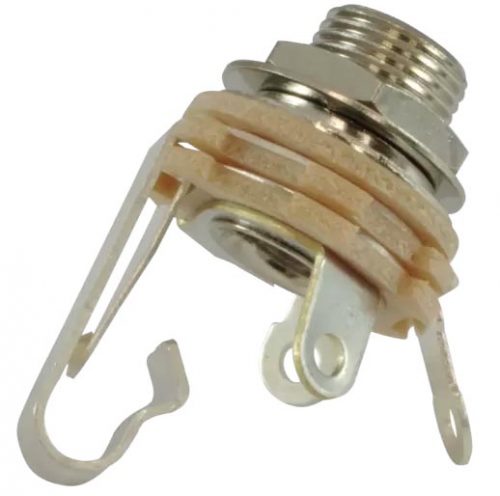
I recommend using a Switchcraft jack for your guitar or bass, but there are a handful of types out there, which one do you need? Any of these jacks will actually work in a pinch, but the recommended jack is the 1/4″ mono. You can buy them in bulk on Amazon for very cheap.
Switchcraft mono 1/4″ jack, Amazon
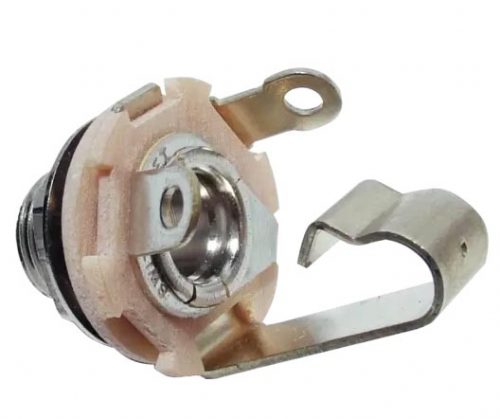
Another common type of jack is the 1/4″ mono with shunt tip. If you look carefully you can see that this is the style I use for my repair in the article. I don’t utilize the 3rd lug which grounds the hot lead when an instrument cable is not present. These types of jacks are used of input jacks in pedals or amplifiers where grounding the input side is necessary when a cable isn’t plugged in.
Switchcraft 1/4″ Shunt Tip Female Mono Jack, Amazon
The third type you might see is the TRS jack. These are a stereo jack that are very uncommon in electric guitars. Electric guitars have handled stereo output in different ways, but it’s very unlikely you have one of the odd ones that used a single stereo out.
You could still manage to wire this for a guitar, but at this point it’s best to just get the mono plug that should be in there.
Switchcraft 1/4″ Stereo TRS female jack, Amazon
Conclusion
Swapping the output jack in your guitar is a great way to easily upgrade your instrument, and a fun project to dip your toes into guitar electronics. If you have any questions regarding this repair please let me know if the comments or email at tgp@theguitarpages.com